The Importance of Clarinet Ligature Screw Replacement
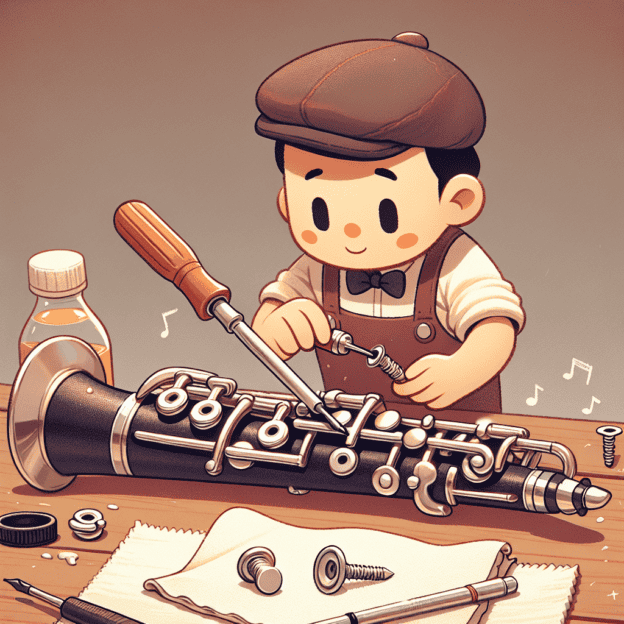
A small yet crucial part of clarinet maintenance is the ligature screw. This tiny component significantly affects your clarinet's sound quality. Learning how to perform a clarinet ligature screw replacement helps you prevent unexpected issues during performances and keeps your instrument sounding its best. Let's walk through this process step by step!
Essential Tools for the Job
- Small screwdriver (Phillips or flat-head, depending on your ligature screws)
- Replacement ligature screws (ensure they fit your ligature)
- Tuning fork or pitch pipe (for post-replacement alignment check)
- Soft cloth for cleaning clarinet parts
Pro tip: Organize your tools before starting. This preparation prevents fumbling for items mid-task.
Step-by-Step Replacement Guide
| Step | Action |
|---|---|
| 1. Remove Ligature | Gently loosen the screw and slide the ligature off the mouthpiece. |
| 2. Clean Mouthpiece | Wipe off residue with a soft cloth for better sound quality. |
| 3. Inspect Ligature | Check for wear. Replace if damaged, otherwise continue. |
| 4. Install New Screw | Insert and tighten gently, ensuring proper alignment. |
| 5. Reattach Ligature | Slide back onto mouthpiece, positioning correctly. |
| 6. Adjust Tension | Fine-tune for optimal reed vibration and sound quality. |
| 7. Test | Play a few notes to check responsiveness and tone. |
Ligature and Screw Maintenance Tips
- Store your clarinet in a protective case to prevent damage.
- Keep spare ligature screws in your case for emergencies.
- Regularly check and tighten the ligature screw, especially before performances.
Wrapping Up
Replacing a ligature screw might seem minor, but it significantly impacts your playing experience. Take care with each step and enjoy the process. Your clarinet is a fine instrument that deserves careful attention, much like the exceptional craftsmanship found in Martin Freres clarinets.


