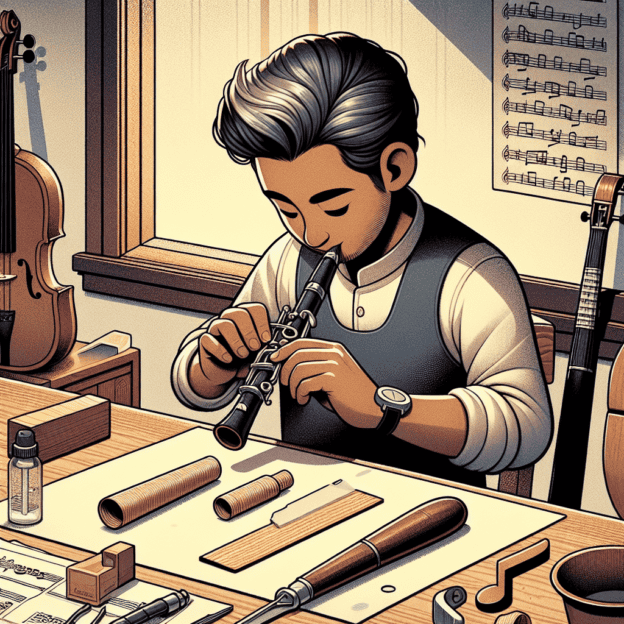
Clarinet performance combines artistic expression with technical precision, demanding both musical sensitivity and craftsmanship. The mouthpiece and reed combination plays a crucial role in shaping sound quality and playability. Customizing your reed can dramatically improve your sound, and learning to cut reeds effectively is a valuable skill for serious clarinetists aiming for tonal excellence.
Understanding Reed Cutting
Reed cutting is the process of shaping and adjusting the cane material that vibrates to produce sound in your clarinet. This technique can significantly impact your instrument's tone, resistance, and overall playability.
Tools of the Trade
To cut reeds effectively, you'll need these essential tools:
- Reed Knife: A specialized knife with a sharp, flat blade for precise cutting, designed to create the desired reed shape.
- Trimming Tools: Scissors or a small saw for initial cuts, though they may lack the precision of a reed knife.
- Sandpaper or File: Used for fine-tuning after the main cut, with finer grit for smoother surfaces.
- Ruler or Template: For accurate reed length measurement and consistency across multiple reeds.
| Tool | Purpose | Importance |
|---|---|---|
| Reed Knife | Precise cutting and shaping | High |
| Trimming Tools | Initial cuts and rough shaping | Medium |
| Sandpaper/File | Fine-tuning and smoothing | High |
| Ruler/Template | Accurate measurement | Medium |
Cutting Techniques
Here are key techniques professionals use when cutting clarinet reeds:
1. Length Adjustment
Start by measuring the reed's length. Remove excess length from the tip for better pitch control. Use a ruler to measure the standard length (about 2.5 inches for standard reeds) and mark your cutting line. Cut slowly and carefully to prevent splintering.
2. Tip Shaping
The reed's tip significantly affects tonal quality. Gradually taper the tip for a more focused sound. Use the reed knife to thin the reed towards the point, maintaining an even angle. Many players prefer a slight curve at the end for a warmer tone.
3. Adjusting the Throat
The reed's throat, just above the tip, affects airflow. Thinning this area increases vibrations, producing a brighter sound. Carefully shave material from both sides of the reed, aiming for comfortable resistance and responsiveness.
4. Fine Tuning with Sandpaper
After initial cuts, use fine sandpaper or a file to refine the reed's shape. This smooths rough edges and ensures efficient vibration. Focus on the tip, throat, and sides to create an effective curve.
Reading the Reed
After cutting, test the reed on your clarinet. Look for these indicators of proper cutting:
- Sound Quality: A well-prepared reed produces a clear, responsive sound. Airy or weak sounds may require further adjustments.
- Resistance: The reed should have balanced stiffness, allowing easy play and dynamic control.
- Tonal Consistency: Check for even tone across all registers. Variations indicate needed adjustments, particularly at the tip or throat.
Maintaining Your Cutting Tools
Keep your reed cutting tools in top condition for best results. Sharpen your reed knife regularly, clean all trimming tools, and store them safely. Avoid using your reed knife on other materials to prevent dulling and maintain its effectiveness.
Experimentation and Personal Preference
Reed cutting blends art and science in clarinet playing. Different players prefer various techniques and reed profiles based on their style, desired sound, and musical requirements. Don't be afraid to experiment – try different cutting approaches, play the reeds, and observe how they respond.
Conclusion
Mastering clarinet reed cutting techniques and understanding how each element affects your sound can significantly enhance your performance. Whether preparing for a major concert or practicing at home, investing time in crafting the perfect reed will yield noticeable improvements in your playing.


